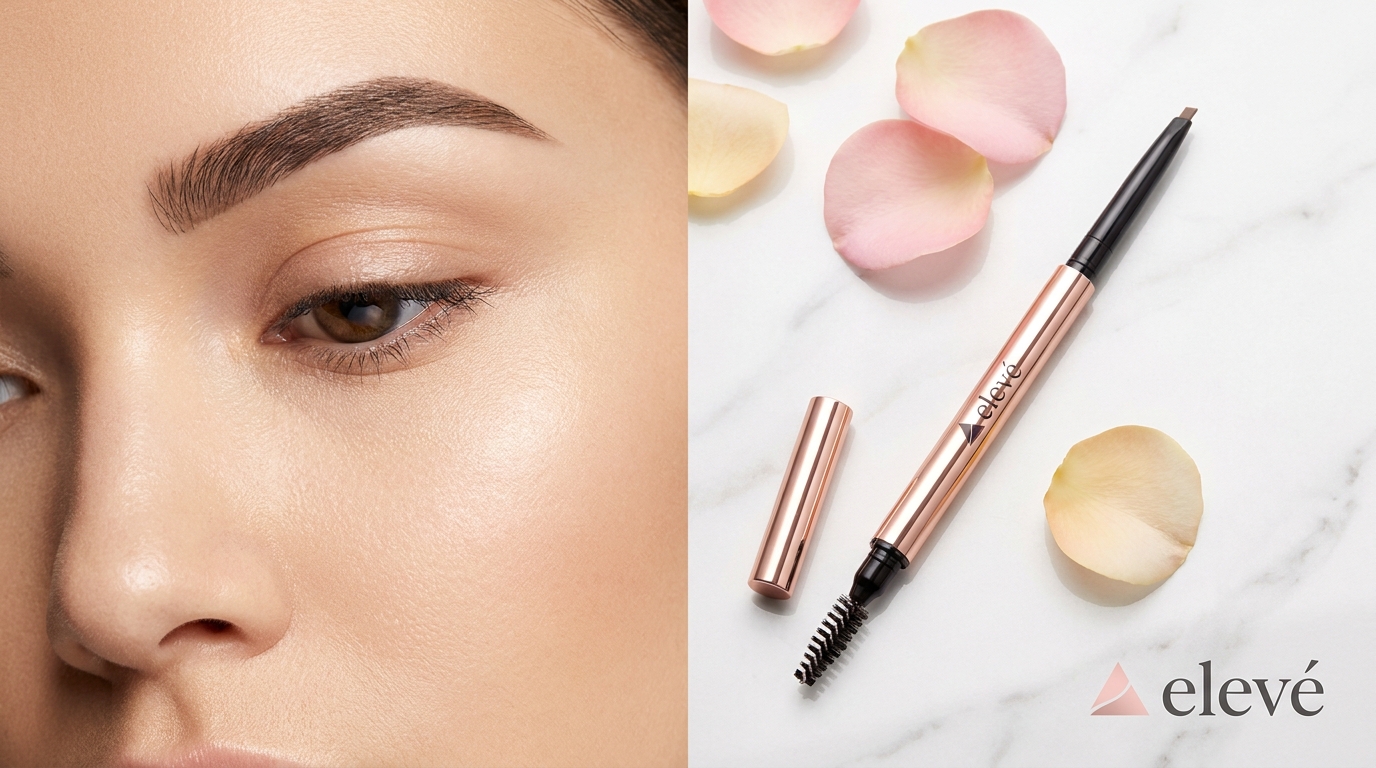
Eyebrows can make or break a makeup look — and yet they are often the most rushed step. Whether you are starting from sparse, uneven, over-plucked, or full natural brows, this guide will walk you through a foolproof process to achieve clean, defined, beautiful brows every time.
Step 1: Gather Your Tools
You will need:
- Spoolie brush — for grooming and blending
- Eyebrow pencil or powder — for filling (pencil for precision, powder for soft/natural looks)
- Angled brow brush — for applying powder
- Small scissors — for trimming long hairs
- Tweezers — for removing stray hairs
- Brow gel or clear mascara — for setting
- Concealer — for defining and cleaning up edges
Step 2: Groom First — Always
Before any product touches your brow, use a spoolie to brush your brow hairs upward and outward, following the natural direction of growth. This reveals the true density and shape of your natural brow and shows you where the gaps are. If any hairs are excessively long, trim them with small scissors — brush them up, and snip just the tip that extends beyond the brow line. Never cut more than you think you need; you can always take more off but cannot put it back.
Step 3: Map Your Brow Shape
Using a straight brow pencil or a thin brush handle, map the three key points of your brow:
- Start point: Hold the pencil vertically from the side of your nose — where it meets your brow is where the brow should begin. Mark lightly.
- Arch point: Angle the pencil from the side of your nose to the outer edge of your iris — where it crosses is your arch peak. Mark lightly.
- End point: Angle the pencil from the side of your nose to the outer corner of your eye — where it meets your brow line is where the tail ends. Mark lightly.
Connect these three points lightly with your pencil to create an outline. Step back and check the symmetry. Adjust before filling in — it is far easier to erase a light outline than a fully filled brow.
Step 4: Remove Strays Outside Your Outline
Any hairs that fall outside your mapped outline can now be removed with tweezers. Pull in the direction of hair growth to minimise pain and avoid breakage. Only remove hairs you are confident are outside your desired shape — when in doubt, leave it. Over-tweezing is one of the most common and difficult brow mistakes to recover from.
Step 5: Fill In Your Brows
Now for the filling. The goal is to mimic the look of individual hair strokes — not to colour in a solid block.
- With a pencil: Use short, light upward strokes following the direction of hair growth. Start with a light hand — you can always add more, but you cannot take it back easily.
- With powder: Use an angled brow brush and apply powder in short, hair-like strokes starting from the middle of the brow toward the tail. The inner third (closest to the nose) should be the lightest and most natural — harsh inner brows look unnatural.
The front of the brow should be feathery and soft; the tail should be more defined and precise. Build colour gradually — especially on sparse areas.
Step 6: Blend and Soften
Use a clean spoolie to brush through the brow again after filling. This blends the product into the hairs for a natural, seamless result and removes any excess product. This single step is what separates a drawn-on brow from a realistic one.
Step 7: Define and Clean Up the Edges
Using a small, flat concealer brush and a nude or light concealer, trace just beneath the bottom brow line and along the arch. This creates a crisp, defined edge, covers any minor colouring outside the brow, and brightens the brow bone. Blend gently outward so the concealer is not visible as a harsh line on its own.
Step 8: Set with Brow Gel
Finally, apply a clear or tinted brow gel over the entire brow, brushing hairs upward and outward to set everything in place. Brow gel is the step that makes your brows last all day, even through Ghana's heat and humidity. It also adds a beautiful, groomed texture to the finished look.
Tools you need: Find our Brow Definer Pencil with built-in spoolie and our Brows On Fleek Bundle in the shop. Not sure which shade to choose? Message us on WhatsApp — we'll help you match your perfect brow shade.