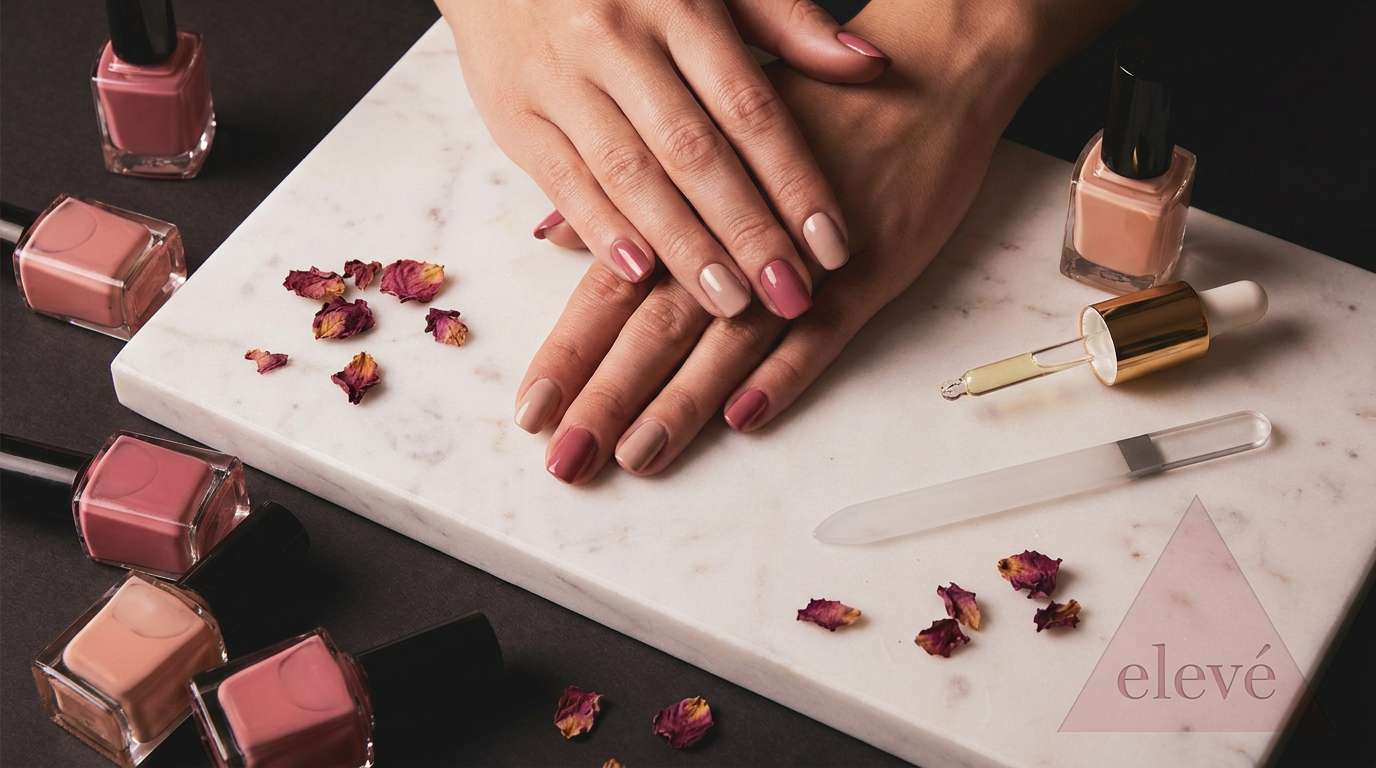
Well-kept nails are one of those small details that make a big difference to your overall appearance. And the great news is — you do not need to be a professional nail technician or spend hours at a salon to achieve gorgeous nails at home. Here is everything you need to know, from nail health basics to simple but stunning nail art designs.
Part 1: Nail Care Fundamentals
Keep Nails Clean and Shaped
File your nails regularly using a fine-grit nail file, always filing in one direction rather than sawing back and forth — the back-and-forth motion causes splitting and weakening of the nail. Choose a shape that flatters your finger length: square and squoval (square-oval) for shorter, wider fingers; oval or almond for longer, slimmer fingers. File after showering when nails are slightly softer, or soak fingers in warm water for 2 minutes before filing.
Moisturise Your Cuticles
Dry, ragged cuticles make even the most perfectly applied polish look unkempt. Apply a cuticle oil or rich hand cream to your cuticles daily — especially before bed. Gently push back cuticles using an orange stick or cuticle pusher after a warm soak; avoid cutting them unless absolutely necessary, as they are a seal against bacteria. Keeping cuticles healthy is the single greatest DIY nail care habit you can build.
Protect Your Nails from Damage
Wear gloves when washing dishes, cleaning with chemicals, or doing heavy manual work. Water and chemicals weaken nails significantly over time. If your nails are brittle or prone to breaking, take a break from heavy overlays and give them a fortifying treatment or nail-strengthening base coat for 2–4 weeks.
Part 2: The Perfect at-Home Manicure
- Remove old polish with a non-acetone remover (gentler on nails).
- Shape and file dry nails to your desired length and shape.
- Soak hands in warm soapy water for 3–5 minutes.
- Push back and tidy cuticles gently with a cuticle pusher.
- Buff the nail surface lightly to remove ridges and create a smooth base.
- Apply base coat — this protects the nail from staining and helps polish adhere better and last longer. Always use a base coat. Always.
- Apply two thin coats of colour, allowing each coat to dry completely before the next. Thin coats dry faster, chip less, and look more professional than one thick coat.
- Apply a fast-dry top coat to seal in colour, add shine, and significantly extend the life of your manicure.
- Clean up edges with a thin brush dipped in acetone to remove any polish on skin or cuticles.
Part 3: 5 Easy Nail Art Designs at Home
1. The Classic French Tip
Apply a sheer nude or pink base. Once dry, paint a thin white or off-white stripe across the tip of the nail. Use a strip of tape or a French tip sticker as a guide for a perfectly straight line. Finish with a glossy top coat. Simple, elegant, timeless.
2. Half-Moon Nails
Apply your base colour and let it dry completely. Place a circular reinforcement sticker (available at any stationery shop) at the base of the nail, covering the half-moon area. Paint a contrasting colour over the top of the nail (everything above the sticker). Carefully peel off the sticker while polish is still slightly wet. Seal with top coat.
3. Negative Space Geometric
Apply a base coat only (leaving nail bare/natural). Place strips of tape in a geometric pattern — diagonal, cross, or triangle. Paint over the exposed nail area with a bold colour. Carefully peel tape before polish dries fully. The unpainted "negative space" becomes part of the design. Modern, editorial, and looks far more difficult than it is.
4. Dot Art (No Special Tools Required)
Apply your base colour. Dip the pointed end of a bobby pin or a toothpick into a contrasting polish and dot it onto the nail surface. Create polka dots, flowers (five dots around a central dot), or scattered constellations. Different sizes create different effects. Seal with top coat.
5. Ombre / Gradient Nails
Apply a white base coat. Choose two complementary colours. Apply both colours side by side on a small piece of makeup sponge, then dab the sponge onto the nail — the two colours will blend where they meet. Layer two to three times, allowing brief drying time between each. Clean up edges with acetone, seal with top coat. The result is a beautiful, professional-looking gradient effect.
Shop your nail essentials: Find our long-lasting NHC Nail Polish in a wide range of shades and our full beauty tools collection for everything you need for the perfect at-home manicure.