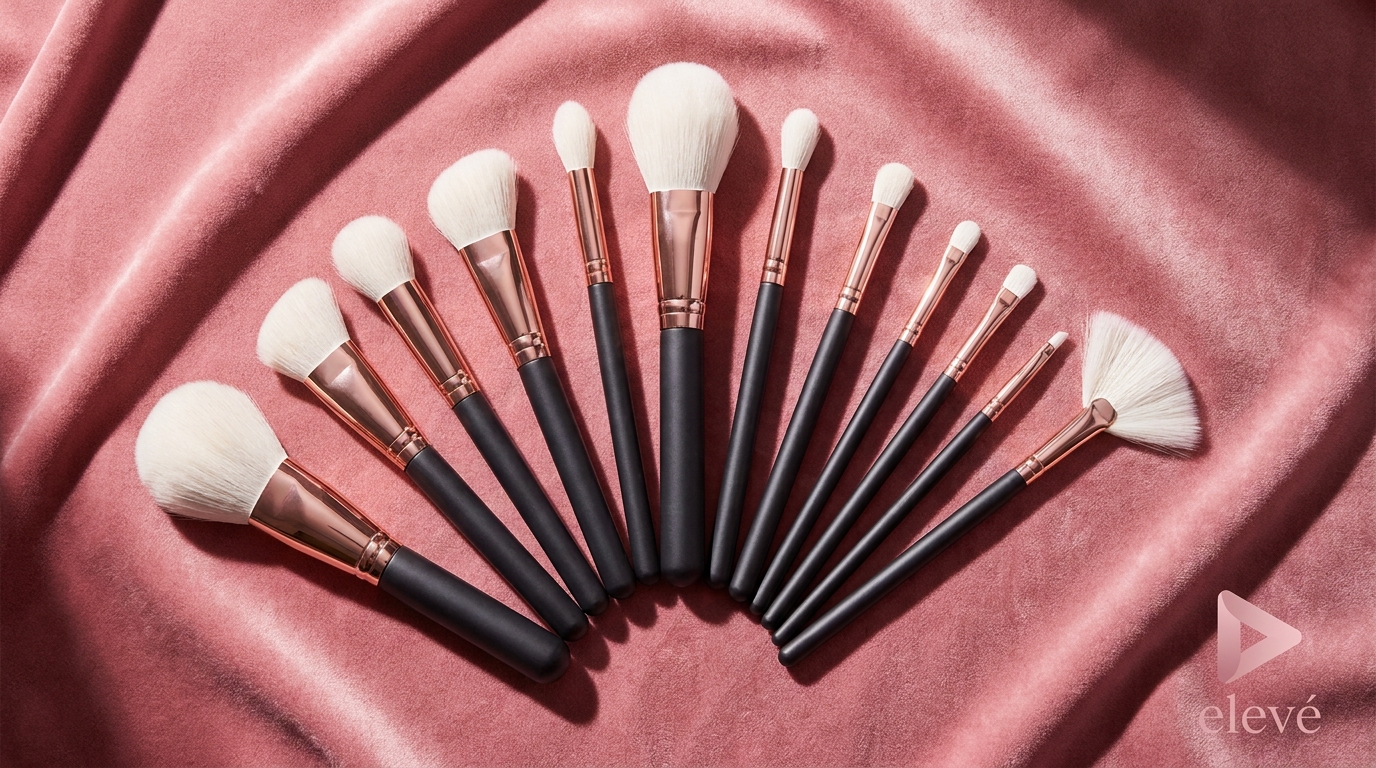
Walk into any beauty store and the brush section can feel overwhelming. Flat, fluffy, angled, tapered — and none of them labelled for what they actually do. Here is your definitive guide to every brush you will ever need, what it does, and how to use it correctly.
Face Brushes
Foundation Brush
A flat, dense brush with a slightly tapered or paddle shape. Use it to apply liquid or cream foundation by pressing and buffing it into the skin in downward strokes (following your facial hair growth). Buff in small circular motions to blend. The dense bristles give full, even coverage without streaking.
Kabuki Brush
Short-handled with a large, fluffy, dome-shaped head. The kabuki is your best friend for applying loose powder, setting powder, or foundation in a more natural, diffused finish. Swirl it in the powder, tap off the excess, then buff in circular motions over the face. Also great for full-face bronzer or blush application.
Powder / Fan Brush
Large and airy with splayed bristles. The fan brush is used for a light, sheer sweep of loose powder, highlighter, or bronzer. It picks up a minimal amount of product, which makes it perfect for delicate applications where you want a whisper of colour rather than full coverage. Also great for brushing away fallout under the eyes.
Blush Brush
Medium-sized with a rounded, slightly tapered head. Apply blush to the apples of the cheeks and sweep it back toward the temples using a gentle sweeping or circular motion. The tapered tip gives you more placement control than a flat powder brush.
Contour Brush
An angled or tapered brush that fits precisely into the hollows of your cheeks, along the hairline, and under the jawline. The angle allows you to deposit product exactly where you want shadow and definition. Use it to apply matte bronzer or contour powder in a "3" shape from forehead to cheek to jaw.
Concealer Brush
Small, flat, and slightly pointed. Use it to apply concealer precisely under the eyes, over blemishes, or along the inner corners. Pat — never drag — product into the skin for seamless coverage without disturbing your foundation.
Eye Brushes
Flat Eyeshadow Brush
A flat, dense brush used to pack eyeshadow onto the lid. Press the bristles directly onto the lid and move side to side for intense colour payoff. Always start with your eyeshadow application before foundation to catch any fallout.
Blending Brush
Fluffy, dome-shaped, and medium-sized — the blending brush is arguably the most important eye brush you own. Use it in windshield-wiper motions to diffuse hard edges, blend two shadow colours together, or build a soft gradient in the crease. A clean blending brush can also be used to brighten the brow bone with a highlighter shade.
Detail / Pencil Brush
A small, dense brush with a precise tip. Use it to pack shadow into the outer corner (for a smoky effect), along the lower lash line, or in the inner corner. Also great for blending out eyeshadow in specific small areas without disturbing surrounding colour.
Liner Brush
An ultra-thin, flat brush (sometimes angled) for applying gel or powder eyeliner. Dip into gel liner or press into a dark eyeshadow and use short strokes to draw a precise line along the lash line. The thin tip gives you much more control than a regular eyeliner pencil.
Brow & Lip Brushes
Brow Brush / Spoolie
One end is a stiff, angled brush for filling in brows with powder or gel; the other is a spoolie (looks like a mascara wand) for grooming and blending brow product through the hairs. Always groom with the spoolie before filling in — it trains the hairs upward for a fluffy, natural finish.
Lip Brush
Small, flat, and firm. A lip brush lets you apply lipstick with precision — especially useful for bold reds or nudes where clean edges matter. It also lets you use up every last bit of product from your lipstick bullet or gloss tube.
Brush Care Tip: Wash your brushes at least once a week using a gentle soap or brush cleanser and lukewarm water. Reshape the bristles and dry them flat or bristle-side down — never upright in a cup while wet, as water damages the glue holding the bristles together. Find our complete brush sets here.